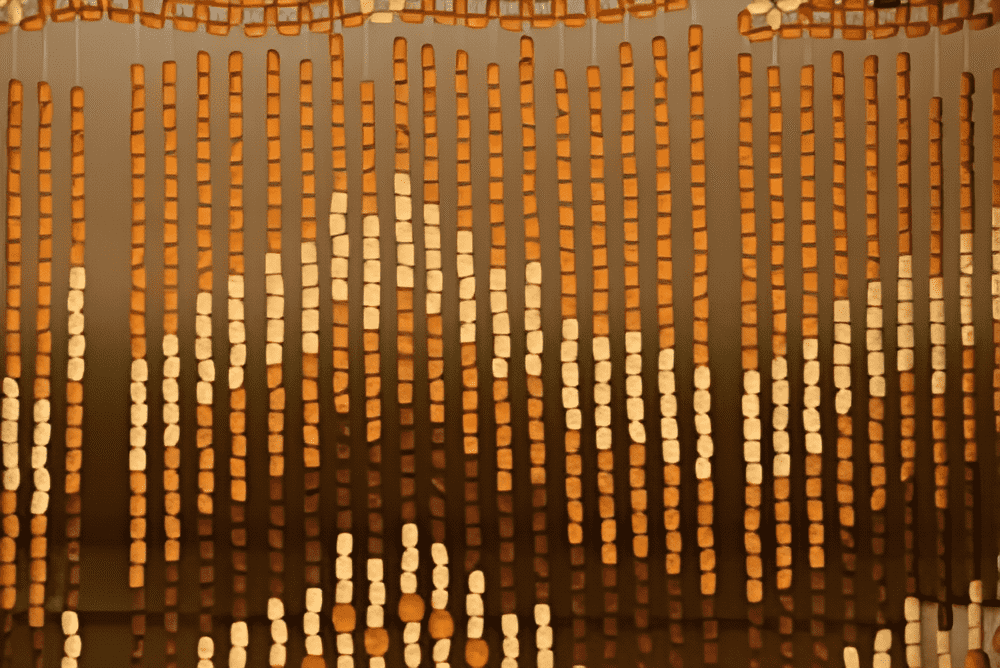
Making your own beaded curtains can be a fun and creative project that adds a unique touch to your home decor. Here’s a step-by-step DIY guide to help you make your own custom beaded curtains

Materials Needed:
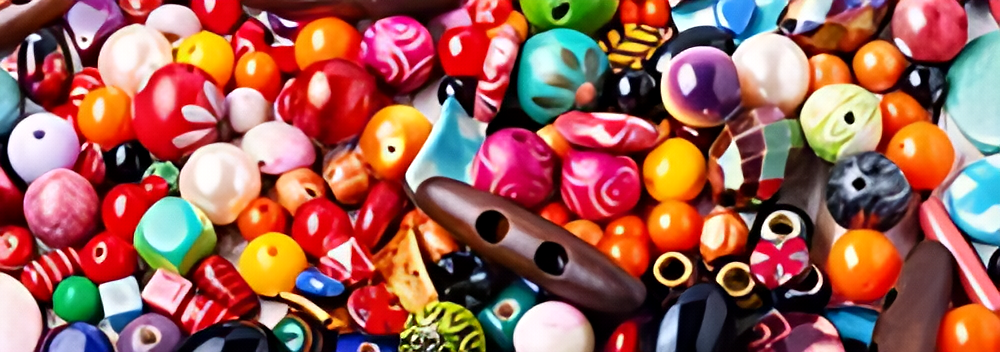
- Beads: Choose beads of your choice, such as wood, plastic, glass, or acrylic beads. Make sure they have a hole big enough for your wire or cord.
- String or Wire: Choose a durable and flexible material to string the beads. Fishing line, nylon thread, or jewelry wire are good options.
- Rod or Frame: You will need something to hang your beads on. It can be a curtain rod, wooden dowel, or metal frame depending on your design and preference.
- Tools: Gather tools like scissors, pliers, and a ruler to measure and cut your wire or cord.
Choosing the Right Beads for Making Beaded Curtains
The purpose of the curtains, the overall design, and your desired aesthetic will all influence your choice of beads when making beaded curtains. To assist you in choosing the ideal beads, keep the following factors in mind:
Material:
- Glass: Glass beads are a popular choice because of their beauty and ability to reflect light. They come in different shapes, sizes, and finishes.
- Plastic/Acrylic: These beads are lighter and often cheaper than glass. They come in a wide range of colors and styles.
Size: Consider the size of the beads about the overall look you want to achieve. Large beads make a bold statement, while smaller beads can provide a more delicate look.
Color: Select hues that work well with the room’s overall color scheme. You can make a bright, multicolored design or opt for a monochromatic style.
Shape: There are many different shapes for beads, such as round, faceted, oval, or even irregular shapes. Think about the desired visual impact that you hope to accomplish with the various shapes.
Transparency: Choose if you want the beads to be opaque, translucent, or transparent. While opaque beads offer privacy, transparent beads can produce a feeling that is lighter and more airy.
Finish: Beads can be glossy, matte, metallic, or iridescent in appearance. Select a finish that adds the desired texture and blends in with your decor.
Durability: Think about the location of the beaded curtains. Select sturdy materials that are resistant to deterioration if they will be subjected to harsh weather conditions or frequent usage.
Style: Make sure the beads’ style complements the overall theme of your design. For instance, use beads with an antique feel if you’re going for a vintage aesthetic.
Installation Ease: While some beads are already strung, others must be placed individually. Think about how much time you’re willing to spend on the installation process and your level of skill.
Tip: To see how the beads will appear when put together into curtains, it can be helpful to make a sample or look at images of projects that are similar before making a final decision. The ideal beads will ultimately rely on your particular design objectives and personal taste.

Understanding Bead Types
Making the appropriate bead choice is the first step in starting a beaded curtain project. Here are a few well-liked choices:
- Seed Beads: Small, uniform seed beads work well for complex designs. Their size makes it possible to create intricate patterns, which is ideal for making curtains that have a striking appearance.
- Glass Beads: Glass beads are a timeless option for adding a hint of refinement. They are available in a wide range of colors and shapes, opening up countless creative options.
- Plastic Beads: A sensible choice if durability is a top concern is acrylic beads. Because they are lightweight, they can be used for extended periods without sacrificing appearance.
- Wooden Beads: Wooden beads give off a feeling of natural rusticness. They bring warmth to any space and are a great option for earthy or bohemian-themed curtains.
Tip: Glass beads are a popular choice due to their elegance and ability to reflect light. They come in various shapes, sizes, and finishes.
Matching Bead Colors and Styles
Achieving a cohesive look involves careful consideration of color and style. Follow these guidelines:
Complementing Colours: Select beads that go well with the color palette already in place in your room. Think about using monochromatic tones for a delicate, elegant look or contrasting colors for a dramatic effect.
Consistent Style: Choose beads for your curtain that complement the general theme of your décor to keep the look cohesive. This produces a visually pleasing flow.
String used to make beaded curtains
The wire used for beaded curtains can vary depending on the design and purpose of the curtain. Some common options include:

Monofilament or Fishing Line: This is a clear, durable wire that is often used for beading. It is practically invisible, allowing the pearls to stand out.

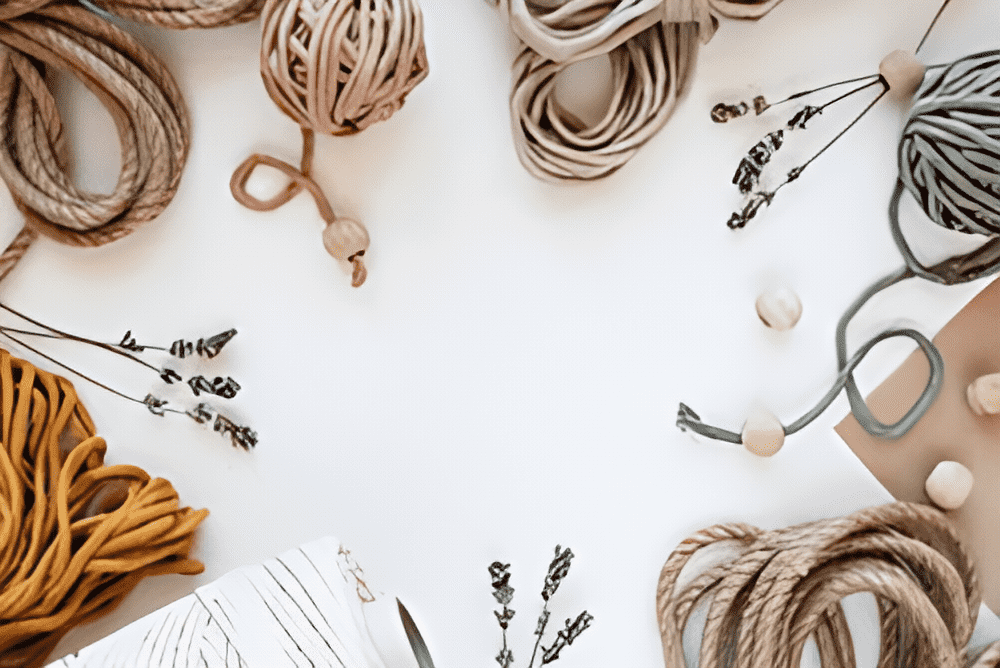
Nylon cord or twine: Nylon is a strong and durable material that can be used for bead curtains. It comes in different thicknesses, so you can choose a size that suits the weight and style of your pearls.

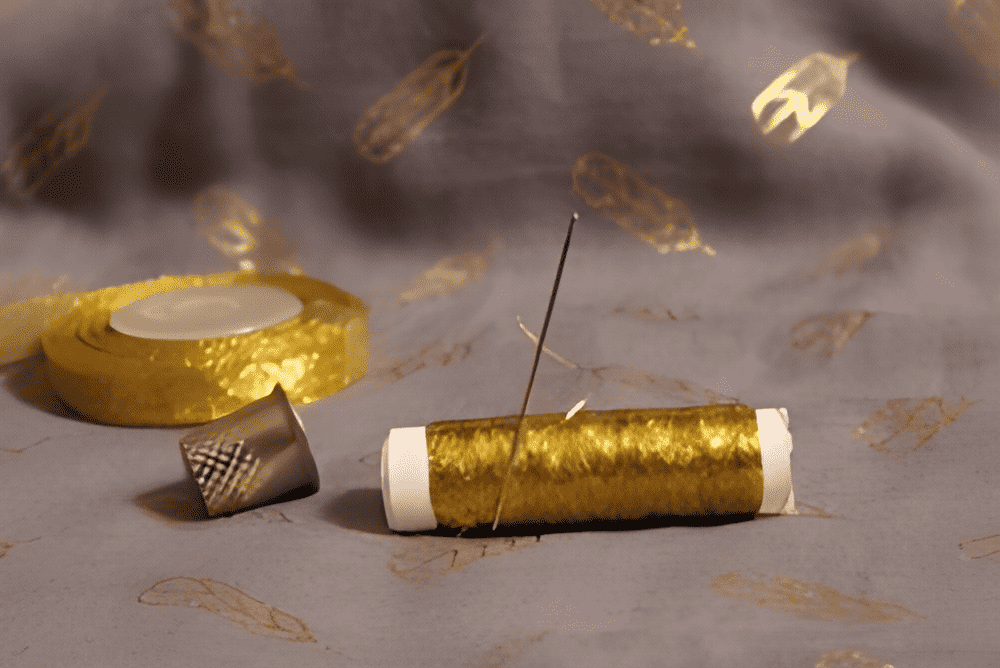
Metallic or Decorative Cord: Some people prefer to use decorative cords that complement the style of their beads. These can be made of various materials, including metallic threads or fabric-covered cords.

Bamboo or Wood Beaded Strands: If you’re working with bamboo or wooden beads, you might use natural twine or string that complements the organic feel of the beads.
When choosing a string for your beaded curtains, consider factors such as the weight of the beads, the desired flexibility or rigidity of the curtain, and the aesthetic you want to achieve. It’s also a good idea to test the strength and durability of the chosen string with a few beads before assembling the entire curtain to ensure it can support the weight.
Fabric used for beading
Choosing fabric for bedding depends on the type of project you are working on and personal preference. Some common fabrics used for bedding include:
- Cotton Fabric: Cotton is a versatile fabric that is easy to work with and is available in a variety of weights and textures. It provides a stable surface for beadwork.
- Linen Fabric: Linen is another natural fabric that is often used for beads. It has a slightly textured surface and provides a good base for intricate bead designs.
- Silk Fabric: Silk is a luxurious fabric that adds an elegant touch to beadwork. It is often used for more formal or decorative bead embroidery projects.
- Velvet Fabric: Velvet is a plush and soft fabric that can create a rich and luxurious backdrop for garland decoration. It is often used to create statement pieces.
- Felt Fabric: Felt is a non-woven fabric that provides a strong and stable base for bedding. It comes in different colors and is commonly used for bead embroidery.
- Beaded Fabrics: Some dresses are pre-embellished with beads, sequins, or other embellishments. They can be used as is or enhanced with additional beadwork.
When choosing fabric for beads, consider the weight, texture, and color of the fabric in your design. Also, it’s important to make sure the fabric is compatible with the type of beads and beading techniques you plan to use. Experimenting with different fabrics can help you discover which ones work best for your specific projects.
Considering Curtain Placement
The location of your beaded curtain influences the type of beads you should choose. Consider the following factors:
Indoor Curtains
For interior spaces, where the curtain is less exposed to the elements, delicate beads like crystal or glass can be used without concern for weathering.
Outdoor Curtains
If your beaded curtain is intended for an outdoor setting, opt for sturdier materials like acrylic or wooden beads that can withstand exposure to sunlight and varying weather conditions.
DIY Tips for Beaded Curtain Creation
If you’re venturing into crafting your beaded curtains, here are some practical tips:
Bead Arrangement: Experiment with different bead arrangements before committing to a design. This allows you to visualize the final look and make adjustments as needed.
Secure Knots: Ensure a secure and durable curtain by tying knots between each bead. This prevents accidental unraveling and extends the lifespan of your creation.
Step by Step Guide how to make beaded curtains
1. Design your pattern:
Plan your bead pattern and decide the length and width of your curtains. Consider the colors and arrangement of beads to achieve the desired aesthetic.
2. Measure and Cut:
Measure the desired length for each strand of beads. Cut your string or wire accordingly, keeping in mind that you will need extra length for tying knots and attaching the wires to the rod or frame.
3. Start Stringing Beads:
Begin stringing your beads onto string or wire. Follow your pre-defined pattern or create a random design. Experiment with different bead sizes and colors for different looks.
4. Make the strips:
String enough beads to make one strand of your curtain. Adjust the number of beads based on your design and the desired distance between the edges. Leave extra length at the top to attach the edges to the rod or frame.
5. Knotting the ends:
Tie a secure knot at both ends of each strand to prevent the beads from slipping. You can also use crimp beads or knots to secure the beads in place.
6. Repeat for Multiple strands:
Repeat this process to make the number you want for your curtain. Ensure consistency in length and pattern for a cohesive look.
7. Attach the strips to the rod or frame:
Use the extra length at the top of each strand to attach to the curtain rod or frame. You can tie the wires directly to the rod or use a jump ring for extra clearance.
8. Hang your beaded curtains:
Hang your fully beaded curtains in the desired location. Adjust the length of the edges as needed to achieve the desired look.
Hanging or Beaded curtain installation
Now that your masterpiece is finished, present it to the world. Using hooks, fasten your beaded curtain to a rod and modify its length to suit your room precisely. Adding beaded curtains can be a creative and stylish way to enhance a room’s decor. Here’s a general guide on how to install beaded curtains:
Installation steps:
Measure the area:
- Measure the width and height of the door or window where you want to install the bead curtains.
- Consider the length of the bead curtains and whether they need to be adjusted.
Choose a mounting method:
- If you are using a tension rod, measure the width of the area and adjust the rod to fit comfortably. If you are using hooks or screws, determine the proper spacing and mark the positions on the wall.
Install the mounting hardware:
- Apply a tension rod or attach hooks/screws to the marked areas. Use a level to make sure the rod or hooks/screws are straight.
Hanging beaded curtains:
- If your bead curtains have a rod pocket, slide them over the tension rod.
- If they have loops or rings, attach them with hooks or screws.
Adjust and trim (if necessary): Adjust the length of the bead curtains if needed. Some curtains can be cut to the desired length.
Ensure proper clearance: Check that the bead curtains have enough clearance to move freely without snagging.
Check and adjust: Open and close the bead curtains to make sure they move smoothly. Make any necessary adjustments to height or distance.
Finishing Touches: If you adjust the curtain, cut off any excess length. Clean the beads if necessary.
Tip: Remember to follow the specific instructions provided by the manufacturer for your particular type of beaded curtains, as installation methods may vary. Always prioritize safety and ensure that the installation is secure before leaving the area unattended.
Maintenance Tips
To keep your beaded curtains looking as vibrant as ever, follow these tips:
- Scrub gently with a soft brush to remove any accumulated dirt or debris.
- Avoid exposing your pearls to direct sunlight for long periods to prevent fading.
- Make sure all the beads are tied securely to avoid any cracking over time.
Conclusion
Congratulations on creating a beautiful beaded curtain that adds a touch of personality to your living space. Share your creations with pride, and inspire others to embark on their DIY journey. Your unique handmade decorations are sure to be a conversation starter and a testament to your creativity. Enjoy your wonderful new addition to your home!

