

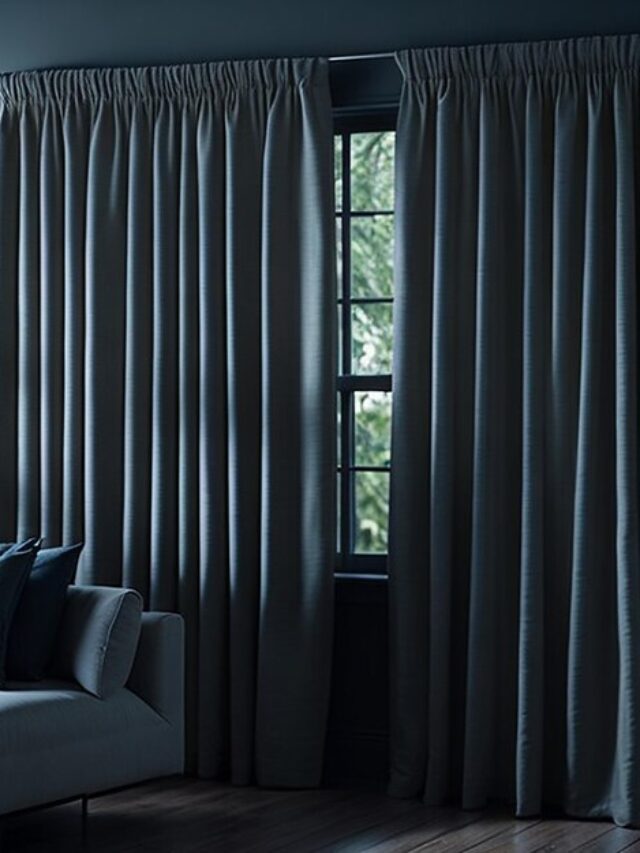
Welcome to the world of how to hang curtain panels! Currently here to assist you through the process with clarity, a bit of fun, and lots of helpful tips, whether it’s a professional Home lover or just someone looking to give your living space a fresh makeover. Although hanging curtain panels could seem like a difficult task, it’s much simpler than you might imagine.

Introduction
Welcoming to the world of hanging curtain panels! Hanging curtain panels can add beauty and personality to any room. Before you begin, make sure your panels are clean, ironed, and measured correctly. You will need curtain rods, brackets, screws, and a drill. Attach the bracket to the curtain rod, then attach the bracket to the wall. Now, attach the curtain panels to the brackets and adjust them for the desired shape.
Getting Started
Gather Your Tools and Materials
- Curtain panels
- Curtain rod
- Measuring tape
- Level
- Pencil
- Drill or screwdriver
- Wall anchors (if needed)
- Curtain rings (if applicable)
- A friend for an extra hand (optional but recommended)
Now that you’re all set, let’s move on to the first step.
Read more: If you want to learn about How to Make Your Own Beaded Curtains, Click here.
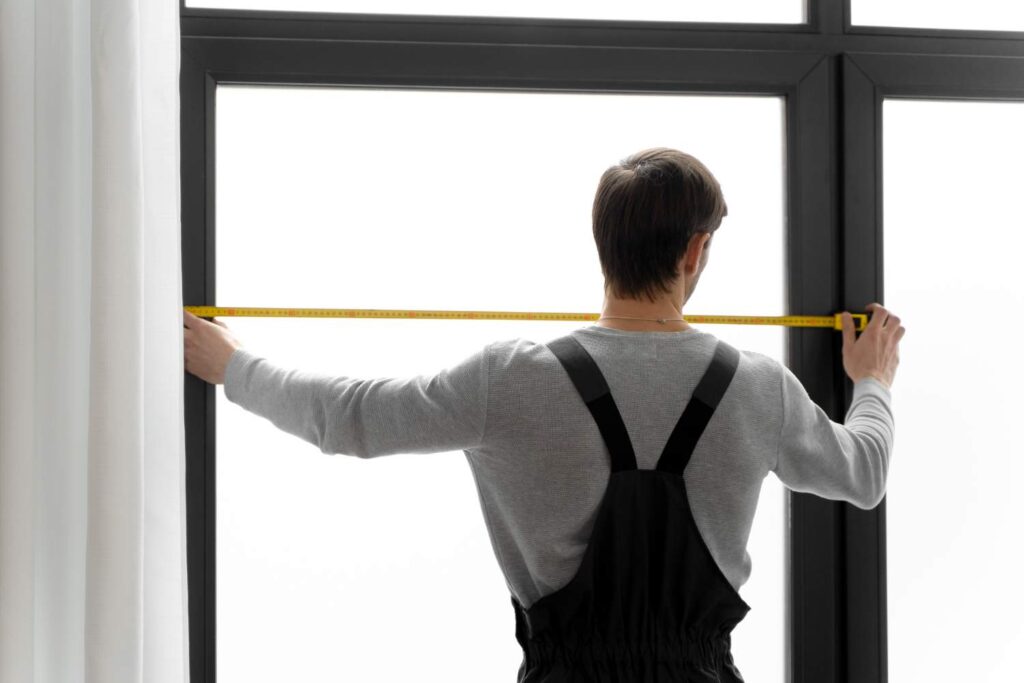
Step 1: Measure Twice, Hang Once
The golden rule of hanging curtain panels is to measure accurately. There’s no room for mistakes, or your curtains might end up crooked. Take your measuring tape and:
- Measure the window width or the space you want to cover with curtains.
- Determine how high above the window frame or floor you want to place the curtain rod.
- Mark these measurements with a pencil.
Pro Tip: Remember the old carpenter’s saying, “Measure twice, cut once”? Well, in this case, it’s “Measure twice, hang once!”

Step 2: Choose the Right Height
Choosing the appropriate height for your curtain rod is essential for a visually beautiful and practical result.
You want to balance covering the window adequately and creating an illusion of space. Here’s how to go about it:
Above Window Frame: One common approach is to place the curtain rod a few inches above the window frame. This not only guarantees that the curtains will completely cover the window when closed but also gives your room a sense of elegance.
Ceiling Height: Another option is to mount the curtain rod closer to the ceiling. This might give the impression that your room is taller and larger. If you want to create a bigger look or have low ceilings, it’s extremely helpful.
In the end, the height you choose will rely on your particular preferences and the aesthetics of the space. Just ensure that you measure and mark the height accurately before proceeding to install the curtain rod.

Step 3: Install the Curtain Rod
Now that you’ve determined the optimal height for your curtain rod, it’s time to secure it to the wall. Follow these steps:
Use a Level: Begin by using a level to ensure that the curtain rod will hang perfectly straight. This step is critical because crooked curtain rods can make the entire setup look off-kilter.
Attach Brackets: Curtain rods typically come with brackets that you’ll use to affix them to the wall. Place the brackets at your marked height and ensure they are evenly spaced. Use a pencil to mark the screw holes for the brackets.
Drill or Screw: With the screw hole markings in place, use a drill or screwdriver to secure the brackets to the wall. Be sure to use wall anchors if your curtains are heavy or if you’re attaching the rod to drywall. This will ensure a sturdy installation.
Hang the Rod: Once the brackets are securely in place, you can hang the curtain rod onto them. Make sure it’s level, and you may want to double-check by using the level again. Tighten any screws or fixtures to ensure the rod is firmly attached.
Funny Line: If your curtain rod starts looking like a seesaw, it’s probably time to call in the professionals (or at least your DIY-savvy neighbor)!
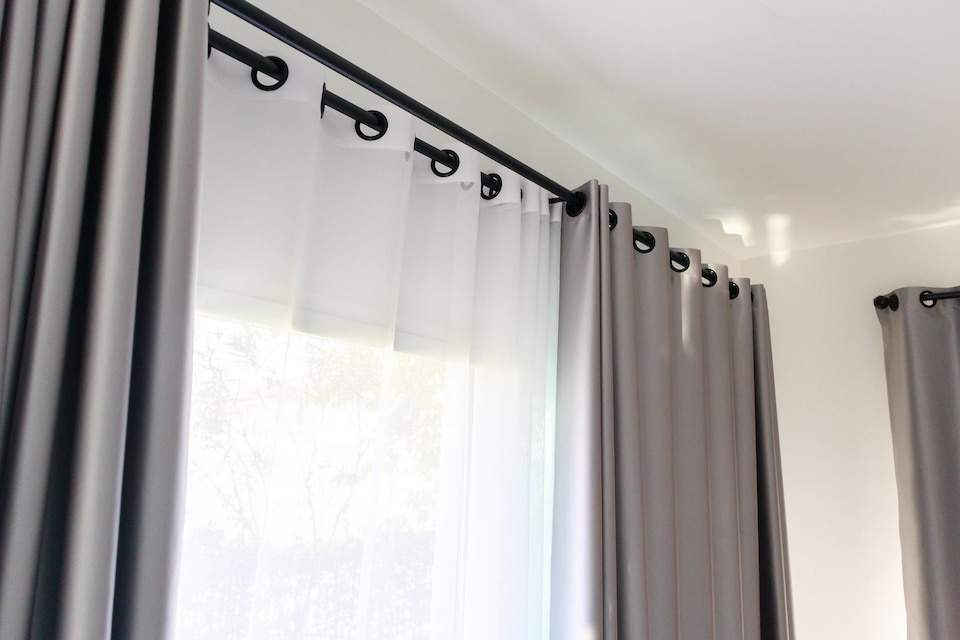
Step 4: Hang Those Panels
Now that your curtain rod is securely installed, it’s time to put your curtain panels on display. This step is relatively straightforward:
- Slide the Panels: Most curtain panels come with built-in rod pockets or grommets designed for easy hanging. Simply slide each panel onto the curtain rod. Ensure that they’re evenly distributed along the rod so that your curtains hang evenly.
Step 5: Adjust and Admire
After hanging curtain panels, step back and take a moment to appreciate your handiwork. It’s essential to ensure that the curtains hang just the way you envisioned:
- Even Distribution: Check that the curtain panels are evenly spaced along the curtain rod. If you notice any unevenness, gently adjust the panels to create a balanced appearance.
- Dramatic Flair: Here’s the fun part. Playfully enter the room with an exaggerated, dramatic flair to fully appreciate your decorating prowess. It’s your moment to shine as the curtain-hanging maestro!
By following these steps in detail, you’ll achieve a professional-looking curtain panel setup that not only enhances the aesthetics of your room but also provides functional benefits like privacy and light control.
FAQs
What’s the best way to choose curtain panel colors?
Consider your room’s color scheme, natural light, and personal style when selecting curtain panel colors.
Should I use tiebacks for my curtain panels?
Tiebacks are a great way to add style and functionality to your curtains, but they’re optional.
Can I hang curtain panels on a bay window?
Absolutely! You’ll need a flexible curtain rod to follow the curve of the bay.